Sunday 5 April 2015

Final products and Evaluation

The King's Corpse from Sam SheepDawg-OEight on Vimeo.
Ancillary 1: Poster (pictured left).

Ancillary 2: Radio Advert.

Evaluation:
http://sheepdawg08.wix.com/-a2samshepherd

Poster


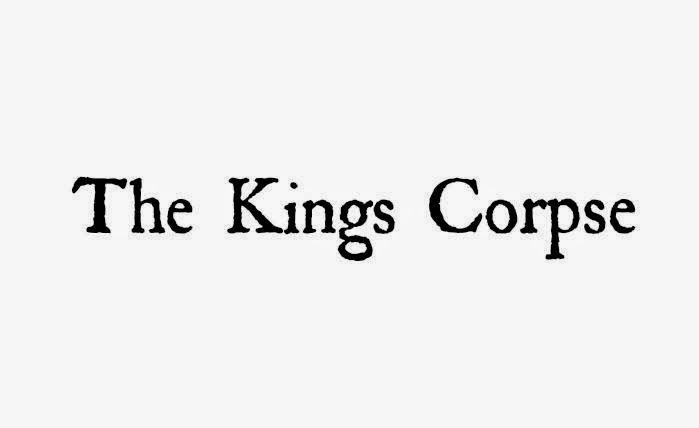
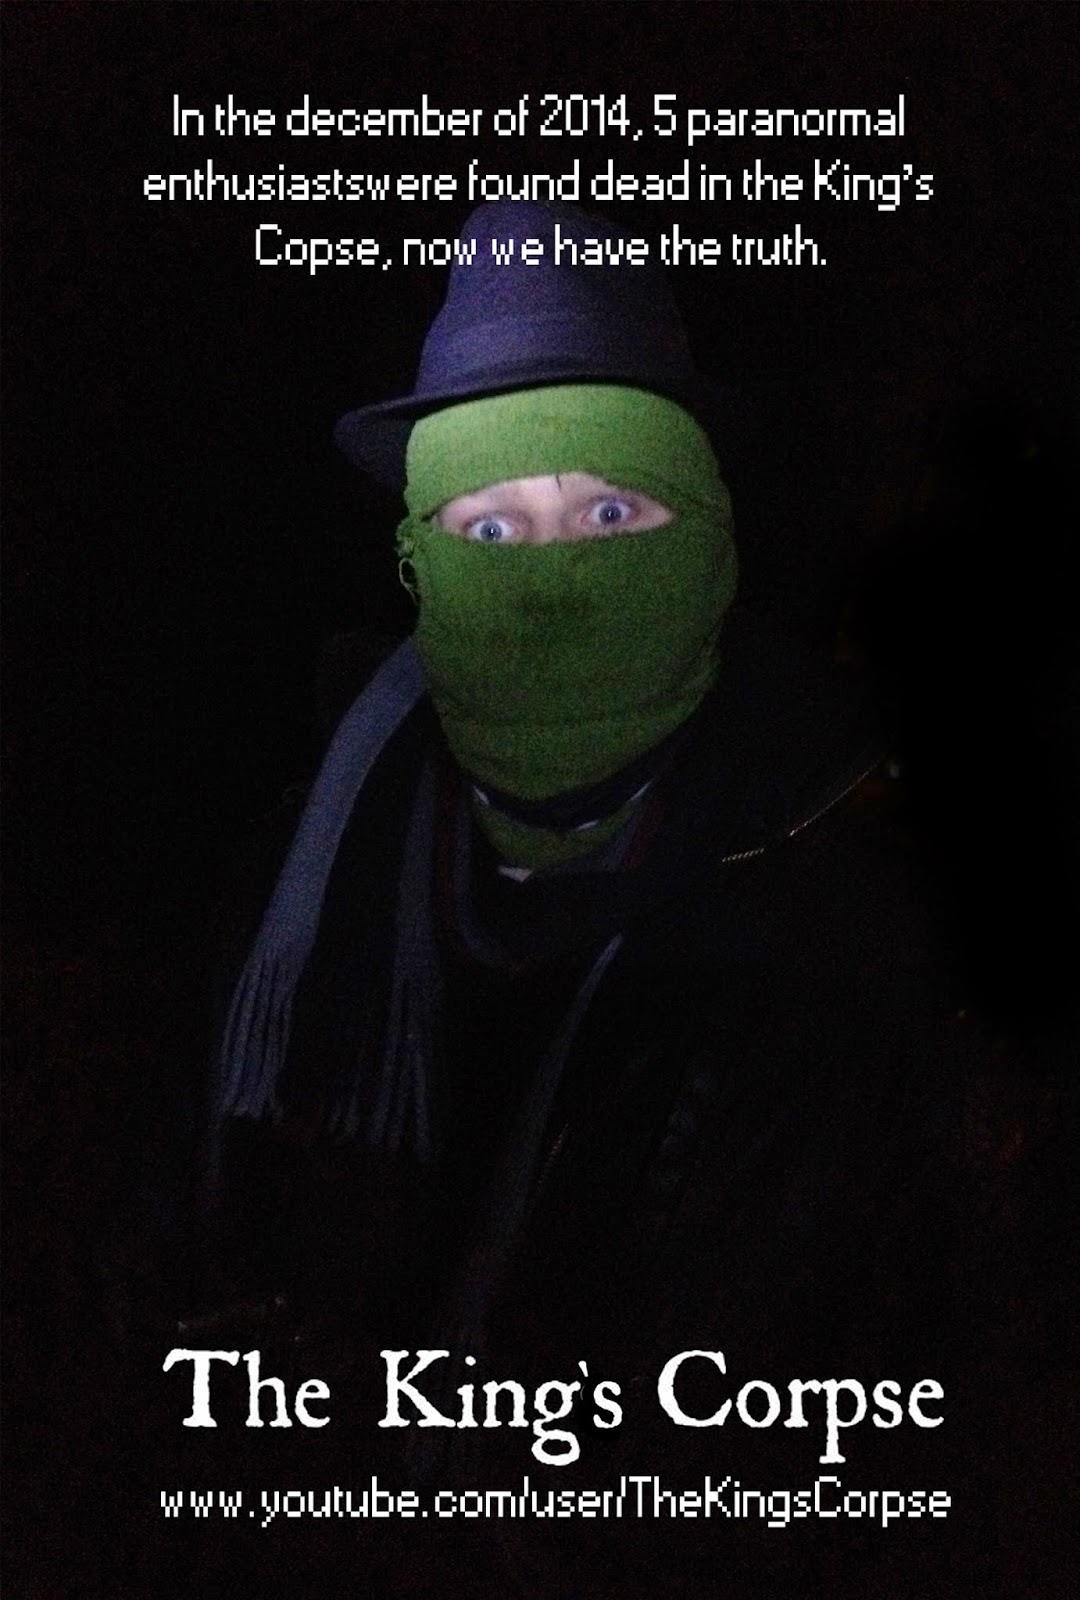
I went on dafont.com for a few ideas on the logo for the poster. The reason I kept it simple was because the person creating this is not skilled at graphic design so would not create a specific logo for it. The ones pictured are my favourites from the search and I chose the fourth one in the end, because it is bold and easily read, whilst not looking completely conventional. I used the picture below as the image for the final poster as it was the closest to how the rest of the film looks and has the clearest image of the killer's face. I started by using a black paintbrush tool to remove the lights in the background. I then cropped the image so it was 40" by 27"  as that is the conventional movie poster dimension. I then inserted the logo as well as the text, one consisting of the page where the film would be found and the text explaining the story. I did not alter the image's white balance, brightness etc. as the picture is supposed to be found on the same device as the footage, so it would look the same as the footage.

This closely resembles The Blair Witch Project's poster but instead of the protagonist's picture, the killer is present on the poster.


Thursday 2 April 2015

Editing: Narrative decisions

Across the editing process, there has been one red flag, the footage is much longer than expected, which meant that the film lasts around ten minutes using all the footage I have shot so far. This means I had to be brutal when removing scenes that were unnecessary. The scene which I previously thought was dispensable but have decided to keep since  I have started editing is the scene where they hear the music without the killer. This scene establishes the signifier of sound and the audience will begin to associate the music with the killer, meaning that we know he was following them for a while.

A recent idea was to use static as a transition across clips that would cut to another scene, implying the clips are corrupted in places, a convention of many found footage films. This gives me the freedom to cut out parts of a clip shot from one camera that is unnecessary without the footage jumping and making it seem edited. This means the introductory scenes can be shortened and I can keep the necessary, character establishing parts within the film.

EDIT: I have filmed the scene in which Alice and Tracy discuss the legend of the King's Corpse, which in it's entirety lasts several minutes. This means I have to cut some scenes out. I have decided to scrap the entire introduction scenes of all the characters and start when they are on the way to the woods. Whilst I said this was essential earlier, without them, the film has a much darker narrative, as most of the comedy has been removed and the focus is more on the death and scary nature of the footage. I feel this will appeal to my target audience more as they will be more creeped out throughout the film and less comforted by the comedy.

There is a scene from the introduction sequence I have decided to use, but at the end. It is an extended clip of when Justin is talking to himself in the mirror, in which he talks about catching the ghost. This is a really effective ending as it shows his anticipation for  going into the woods and he seems to believe he is safe, he doesn't know the terrible fate that will come to him and this makes it a really effective ending. 

The story after the footage ends

As the film is supposedly found footage, I have decided not to have conventional credits. This is because it breaks the verisimilitude of the film. Supposedly, the editing and distribution comes from another enthusiast that got a hold of the footage.

This is reflected in my ancillary products, as they focus on the idea that he has finally found the truth of what happened to the other people on the forum, and now has proof that the legend is real. The idea is he created the radio advert as well as the poster to generate interest amongst social media and attract a wider audience whilst he is collating the footage that remains. This means that my preferred distribution method is online streaming sites (YouTube) as it is free and can spread quickly, which is what the person uploading it would want. The person in question would have a low budget so probably would not be able to host a website.

Monday 30 March 2015

Day 3: Alice's death

Today we filmed the scene of Alice's death. I set up the tent in my back garden as we would only need the interior scenes and it would be harder to set up a tent in the woods and not get anyone walking by in earshot of us. I used a video light on a small tripod and a portable light to light up Alice, and they are pretty much on the floor, which gives an eerie feeling as if they are kids telling ghost stories, which is a great effect and I'm glad I achieved it. I used two cameras on tripods so they could remain steady, one pointed at Alice face on, one from the side. This was done so we could get the stabbing scene looking right, as well as getting a shot of tracy behind the camera  so we know who is in the tent.
We filmed two takes of the scripted conversation, two takes of the stabbing from the side, and one scene of Tracy grabbing the camera and running out of the tent.

Thursday 19 March 2015

The debate for not filming the tent scene

I have been debating whether or not I should film the tent scene because of scheduling issues with the actors. I thought that the scene was not essential to the horror and it's absence could lead to a more mysterious narrative as well as better fitting the quota of a film close to 5 minutes. I was set on this idea until I received feedback from my target audience. They stated that the film did not make sense in the way I had wanted it to, as they didn't know a lot about the legend, so there was seemingly no ambiguity as to whether or not the antagonist was feral or a ghost, which is established in the tent scene. The tent scene also shows Alice being killed, which could have been left to the audience's imagination, but the group wanted to have the closure as to whether she survived or not, given that they know none of the others did. I have decided to take the audience feedback on board and will film the scene as soon as I can get them all together.

Props: The Scrapbook

A key point of Alice's character is that she is well informed about the legend of the king's corpse. To accentuate this, she carries a scrapbook she has made containing clippings and articles involving the story. In reality, there are only two pages of content within the scrapbook, which we need to give the illusion of a lot of detailed analysis. I created newspaper articles, one headline article, a smaller sub heading and a congratulations from the newspaper to the couple when they got married. Joe sketched in a few images of the killer and locations and Georgina annotated them with details we had worked out earlier in the writing process.

Alice's character takes inspiration from Heather Donahue from the blair witch project in the sense that she has a lot of knowledge about the legend and she is chosen to present the documentary they are filming. The scene where her and Tracy are in the tent resembles some key points in the Blair witch project where we learn a lot about the legend itself from Heather. The scrapbook is essential to this effect as the audience believe that she is very knowledgeable about the king's corpse and has devoted a lot of time into the project.

http://www.blairwitch.com/legacy.html

Friday 13 March 2015

Props: The Machete

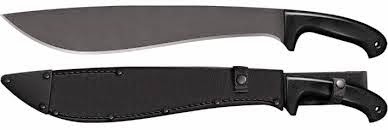
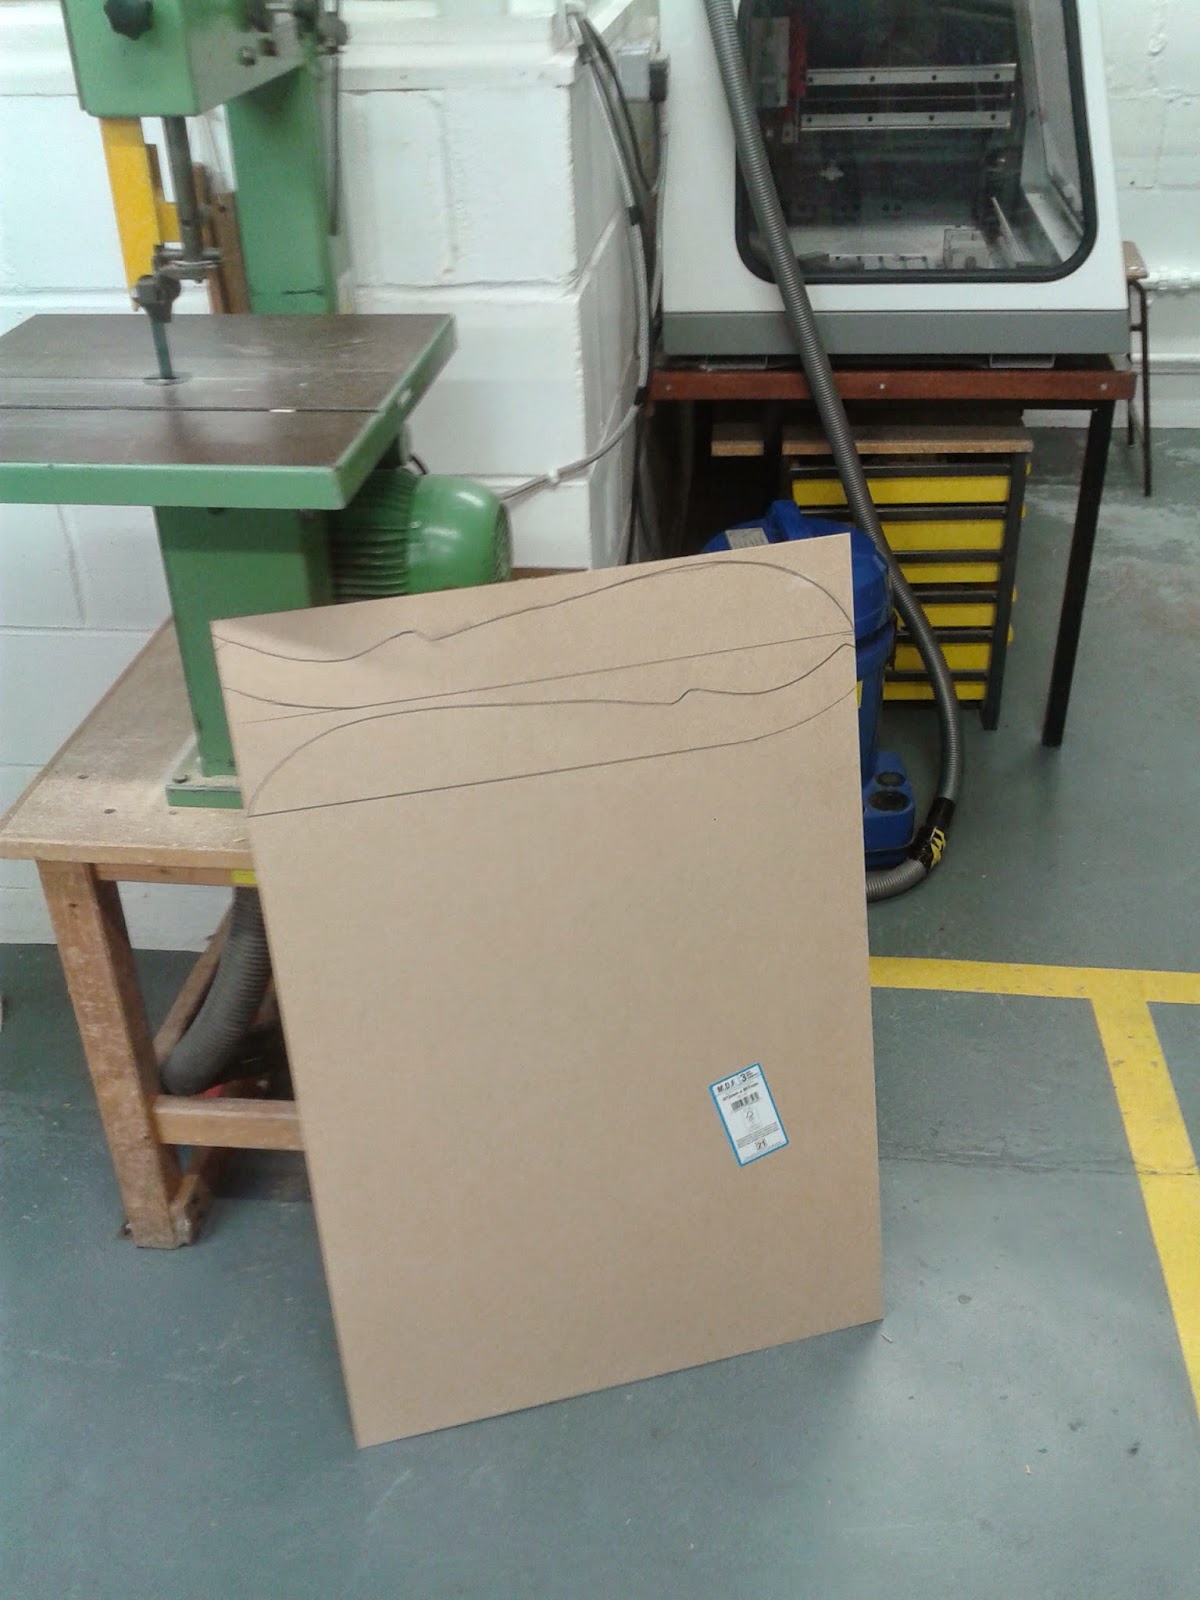
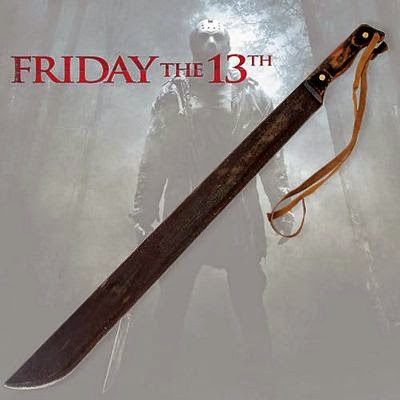
The killer for the film is wielding a machete as it is his weapon of choice (I explain why here). After looking online as well as in local halloween shops etc, I found the blades I found were either too expensive or looked cheap and unrealistic. So I therefore decided to create my own, using MDF and balsa wood. I designed the machete based on Jason Voorhees' machete as well as jungle machetes to come up with a design that I thought looked good. I got this approved by the tech teacher that would cut the blades out and I then transferred the design to the MDF sheet.

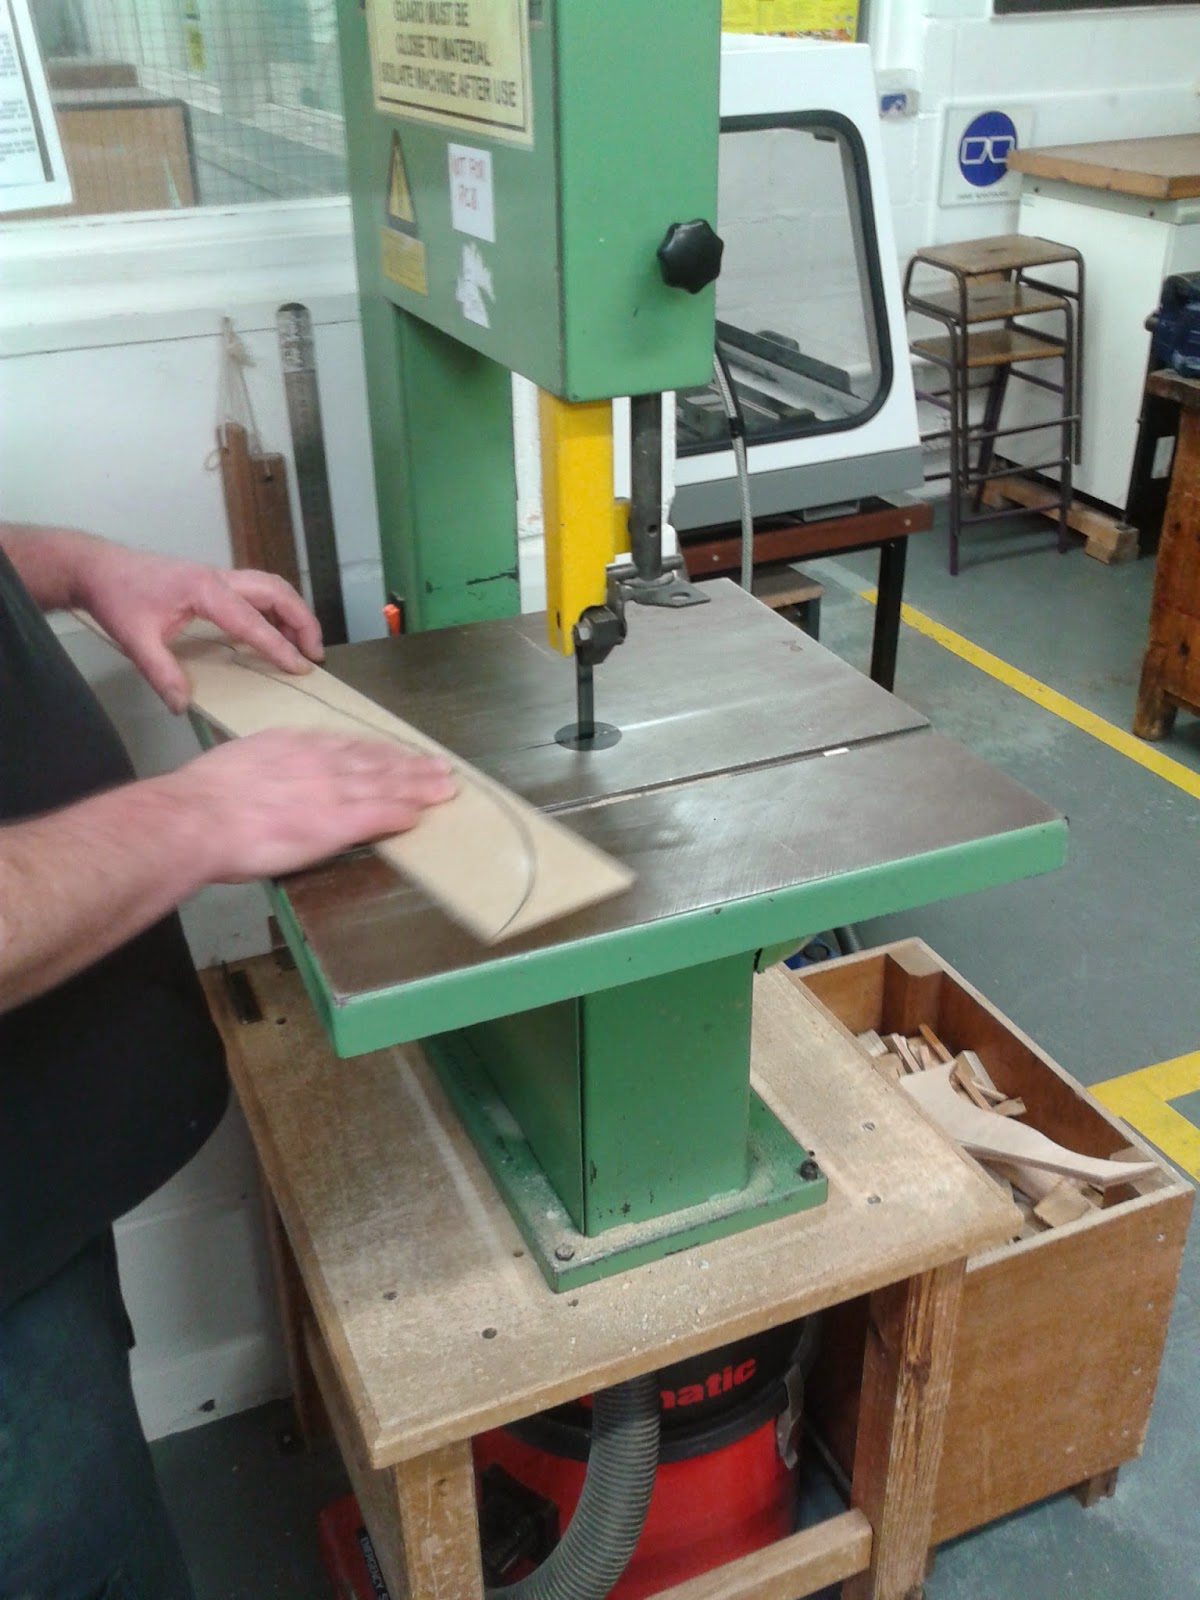
The MDF is 3mm thick and is about 500mm across, which is what I designed the machete to measure to. This was then cut out on the ban saw by the tech teacher (because I do not have the proper training to use it) and I was left with two machete "blades" for me to shape. I created the sharp blade effect by filing and sanding down the edge to the central point, giving the illusion that the blade is sharp.


Then came the handles, which are created by glueing two pieces of balsa wood to the handle shape on the blade. I traced a rough shape of the handle onto 10mm thick balsa wood and cut them out with a stanley knife. I used a hot glue gun to stick the wood together. I then filed the balsa down until it met with the MDF. I also filed and sanded curves down into the handle so it is easy to hold and this makes it look more realistic.


I then sprayed it with several coats of car primer (as it works on most surfaces and is extremely durable), letting it dry and sanding it down in between coats. Once I was satisfied that the primer covered the machete, I sprayed the machete with several layers of silver car paint. I used silver rather than chrome as I wanted it to look worn, not new, as the killer has been feral for many years, he shouldn't have a new, shiny blade. I then masked off the blade and used black spray paint to spray the handle.

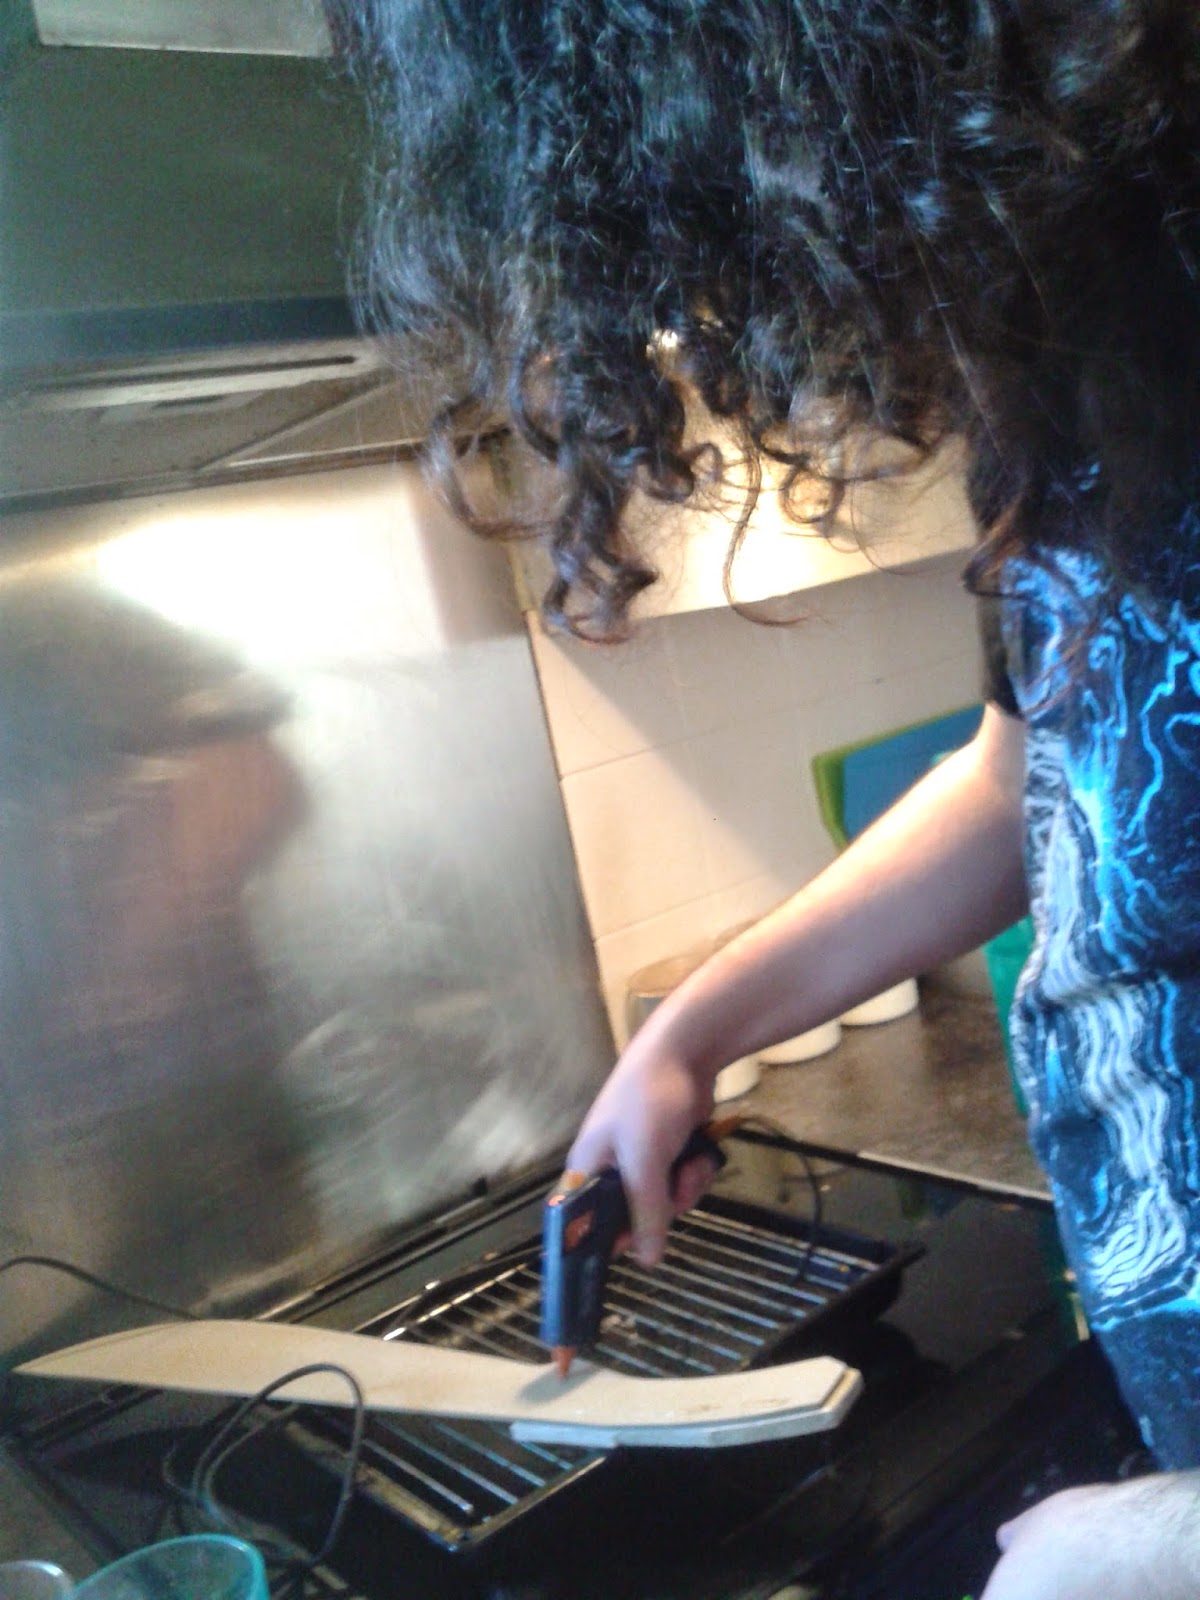
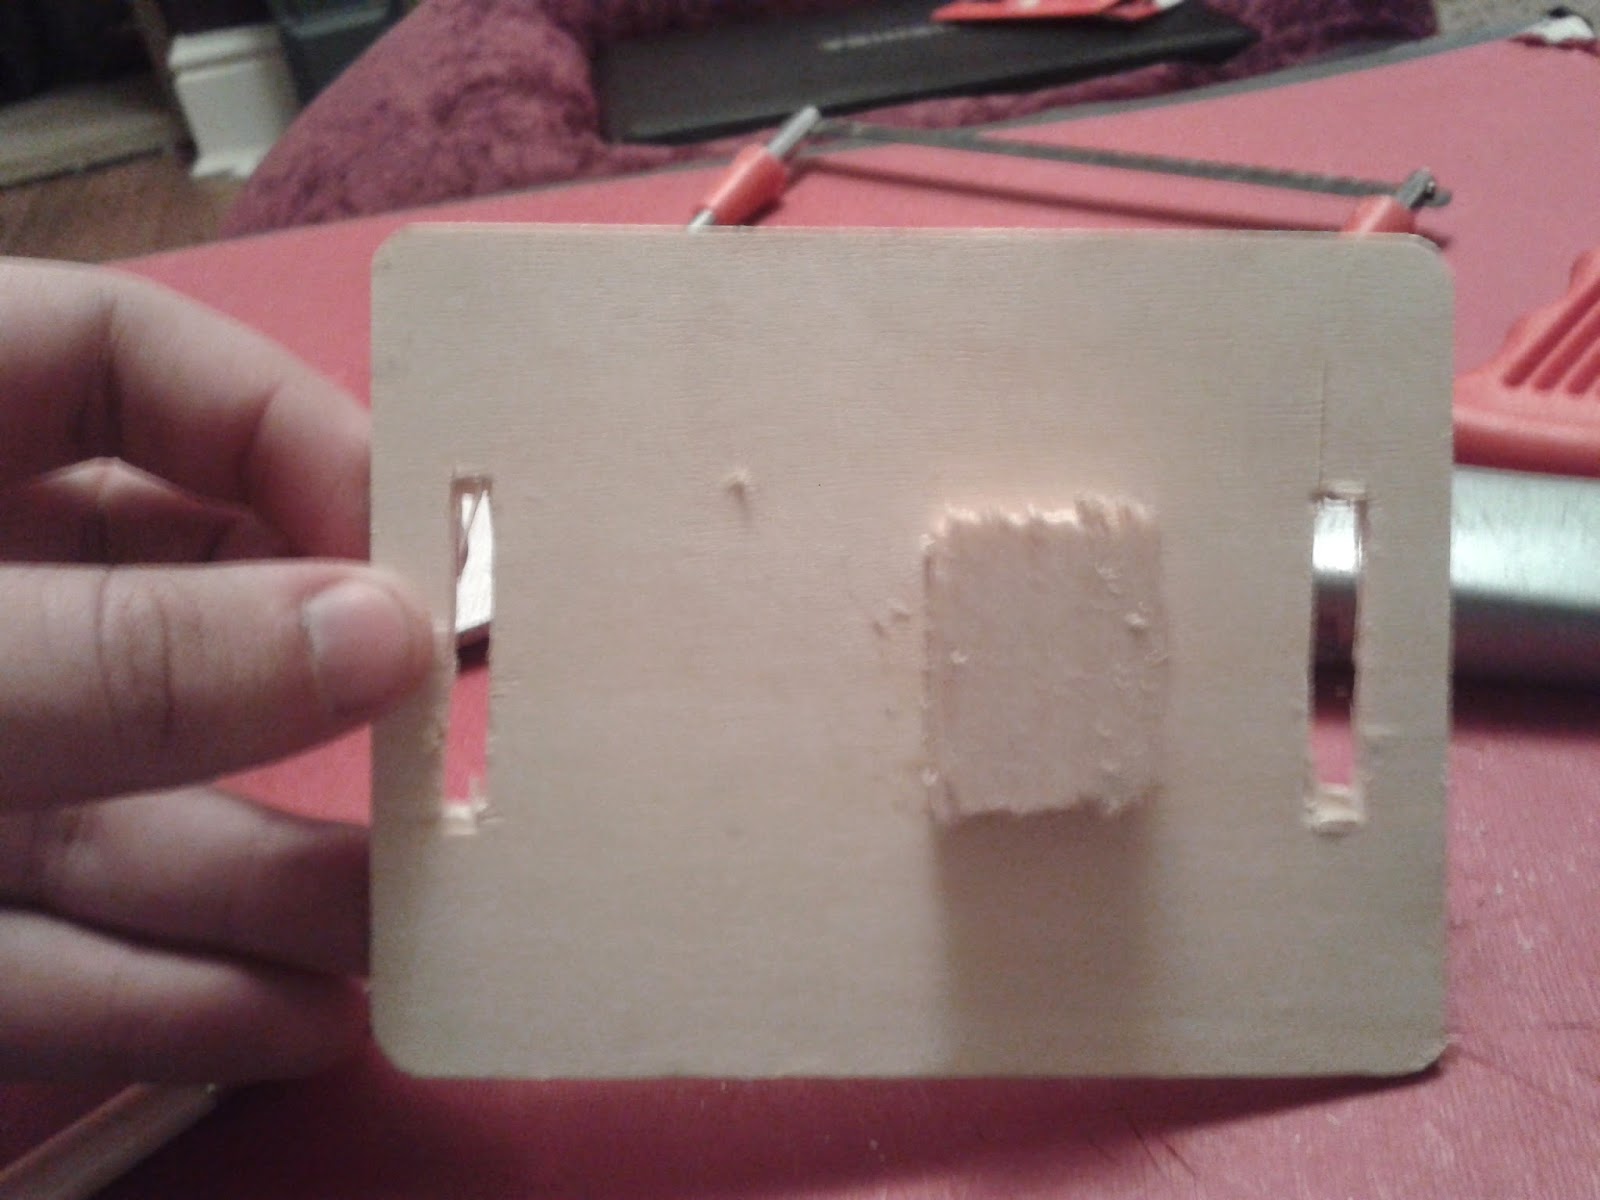
I made two machetes, one so I could use as the full blade, and one so I could simulate the effect of being stabbed through the chest for Alice's death scene. I used a hack saw to cut the middle of the blade away from the handle and the front of the machete. I had to improvise with material for the strap on blade component, So I used a small square of pine wood, elastic fabric, stick on Velcro strips, PVA glue, leftover pieces of balsa wood to anchor the blade to the wood.  I cut two thin, rectangular holes that would accommodate the elastic with a stanley knife. I then glued the leftover pieces of balsa to the the blade and the wood panel, which I then stuck together and held in place until dry. Once That had dried securely, I cut two elastic strips from the reel I bought and cut large strips of the velcro and put them on the ends of the elastic, so as to eliminate the risk of being too long or too short. I then fed the elastic through the holes and sewed them, securing them in place.

This is the final machete, once I tested how the fake blood dripped from it, It doesn't absorb it all, and it lets the blood run off the blade, which is the desired effect from using spray paints. I am satisfied with my efforts, and it only cost around £15 for the materials to make these two machetes, not including the material I had at home already, which is much cheaper than any decent looking replica.


Wednesday 4 March 2015

First edit

The King's Corpse from Sam SheepDawg-OEight on Vimeo.

With the footage I have filmed so far, I put together a rough cut of the film. The piece flows really well and I really like the scenes in the woods, but there is one major concern. The film is eight and a half minutes long, which goes way beyond the brief's five minute constraint. I did not create an animatic for this, so I thought the film would be considerably shorter. This is an issue as I still have scenes to film and put in, which will only add length to the film. I will therefore have to be brutal with scenes, cutting out a lot of the exchange between the characters at the beginning, which is a shame as I feel they are essential in establishing the characters, and therefore caring about them more when they die. This means Ali's spike through the jaw is less significant, as the audience won't fully get that he is a loudmouth that annoys everyone. This is however, necessary and I will try my best to pick out the key points and fit them in somehow, rather than the extended scenes.

Costume


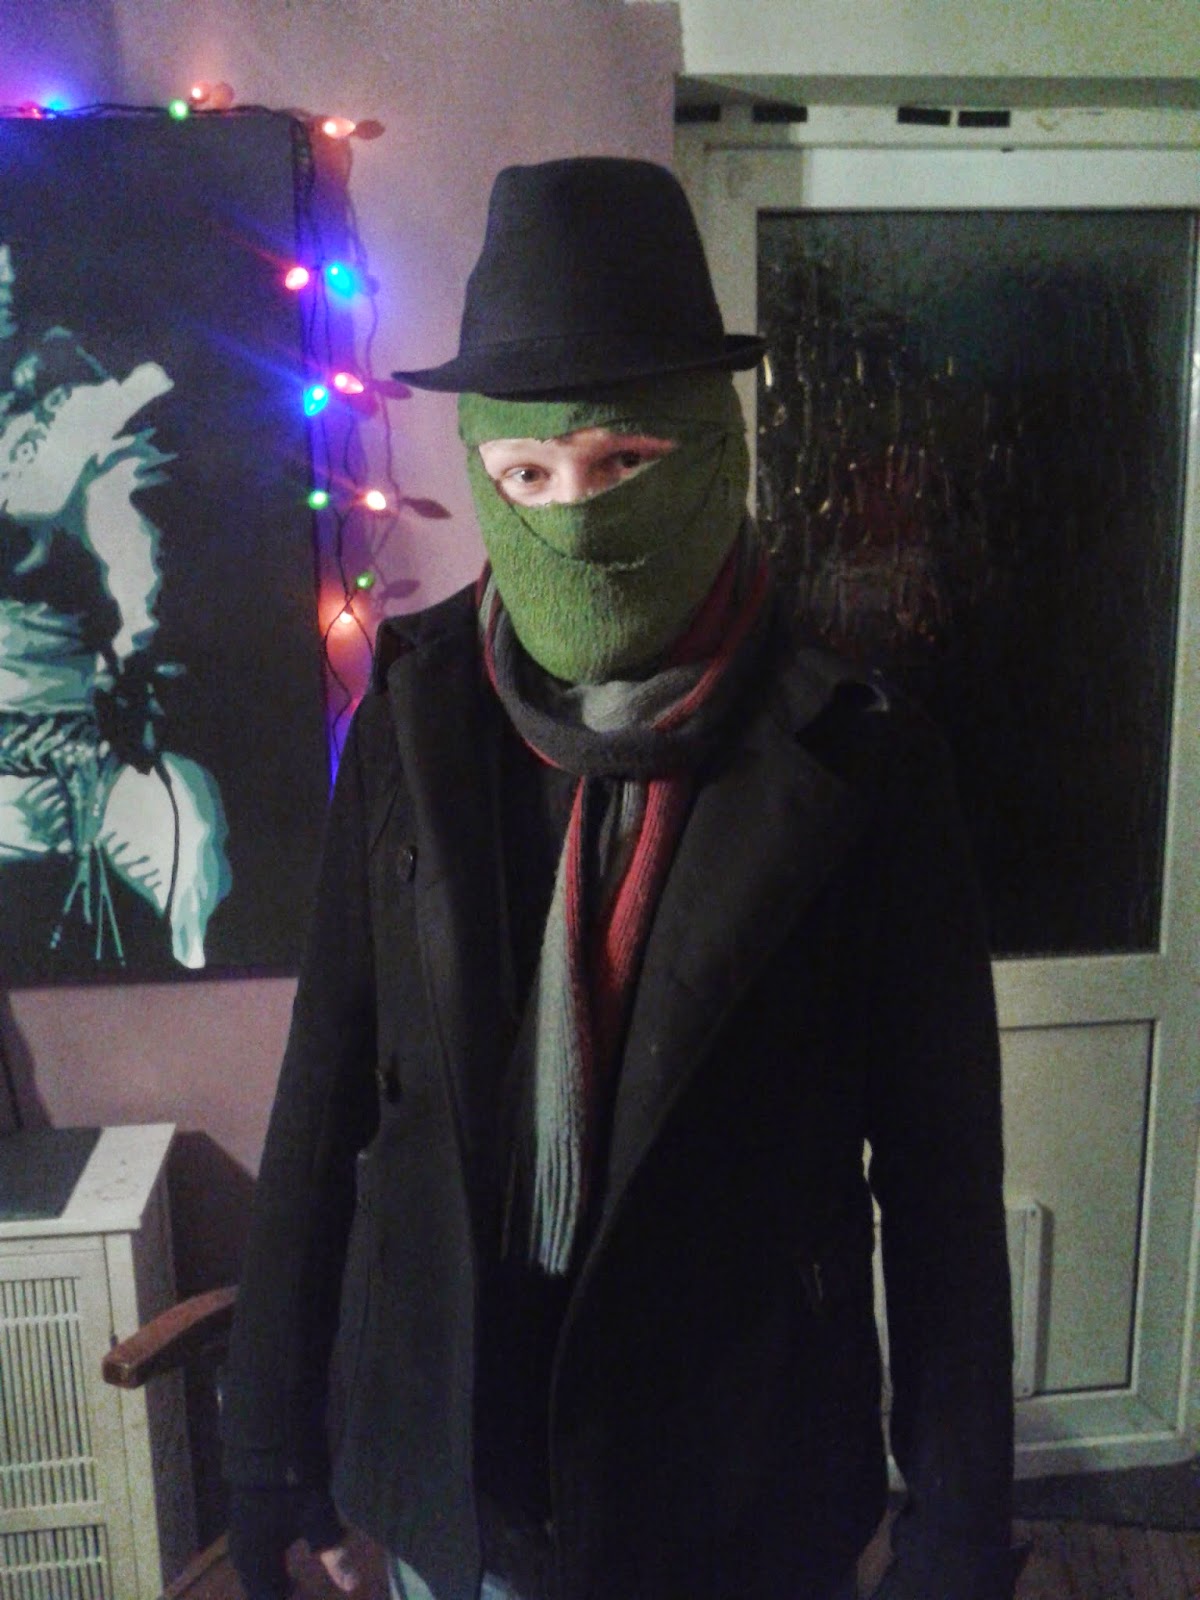
Most of the costume within the film is limited to the wardrobe of the cast, as I do not have the money to provide clothes for them. As the characters should be extensions of themselves, this is not a huge issue and I have told them to wear clothes that they feel would fit the situation. There is however a costume I need to create, the Killer's. Early designs (shown here) showed the killer in bandages, with a hat and a coat, as he is inspired by the painting "The Murderer" by Edvard Munch. Luckily, both me and Joe found most of these items already in our house, and Joe is of a similar size to Adam, so the items of clothing fit him.

The bandages are simple bandages for home use, and are dyed green with Dylon "Amazon Green" as the process involves salt and a washing machine, so it is easy to pull off. I put the dye and the salt in the washing machine and they were dyed. Once dried, we got Adam in to see how he looked and if he needed anything else. We were satisfied with result as the bandages completely obscure his face and he does look similar to the original drawing as well as the sketches of the killer in the design phases.


Monday 16 February 2015

Day 0 filming: Ali's death

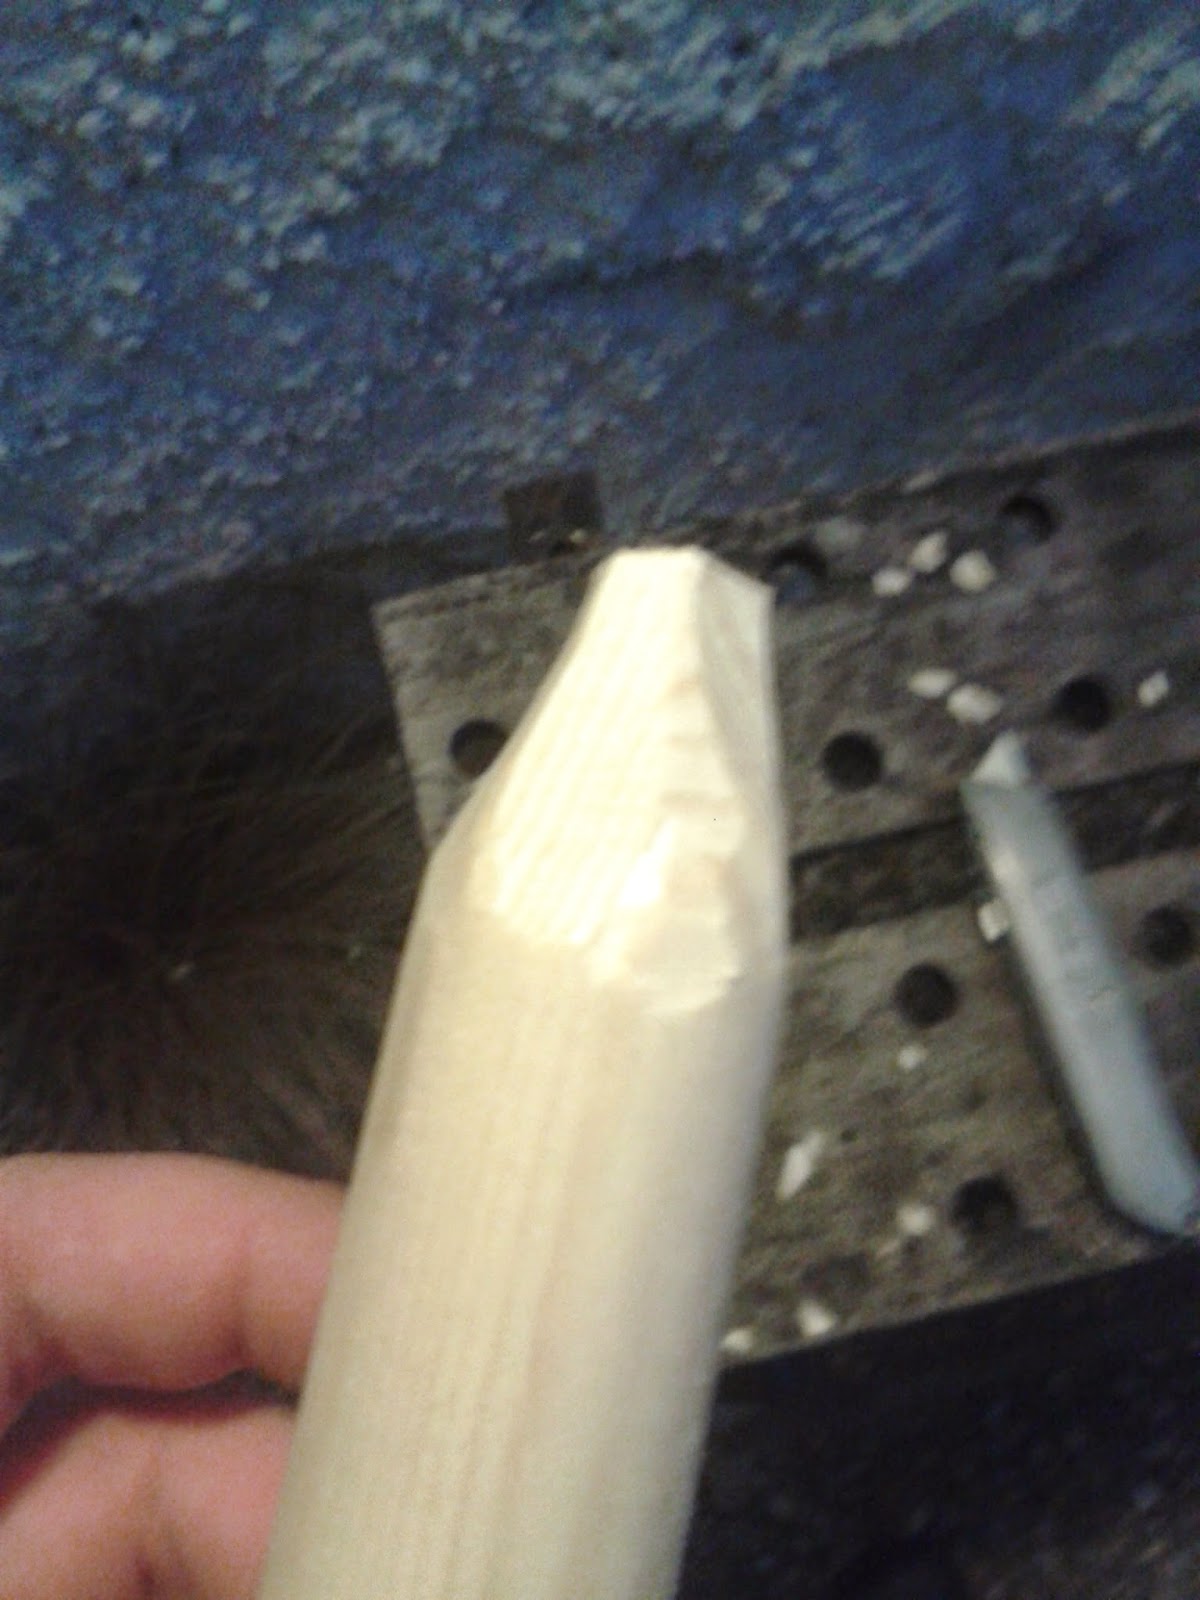
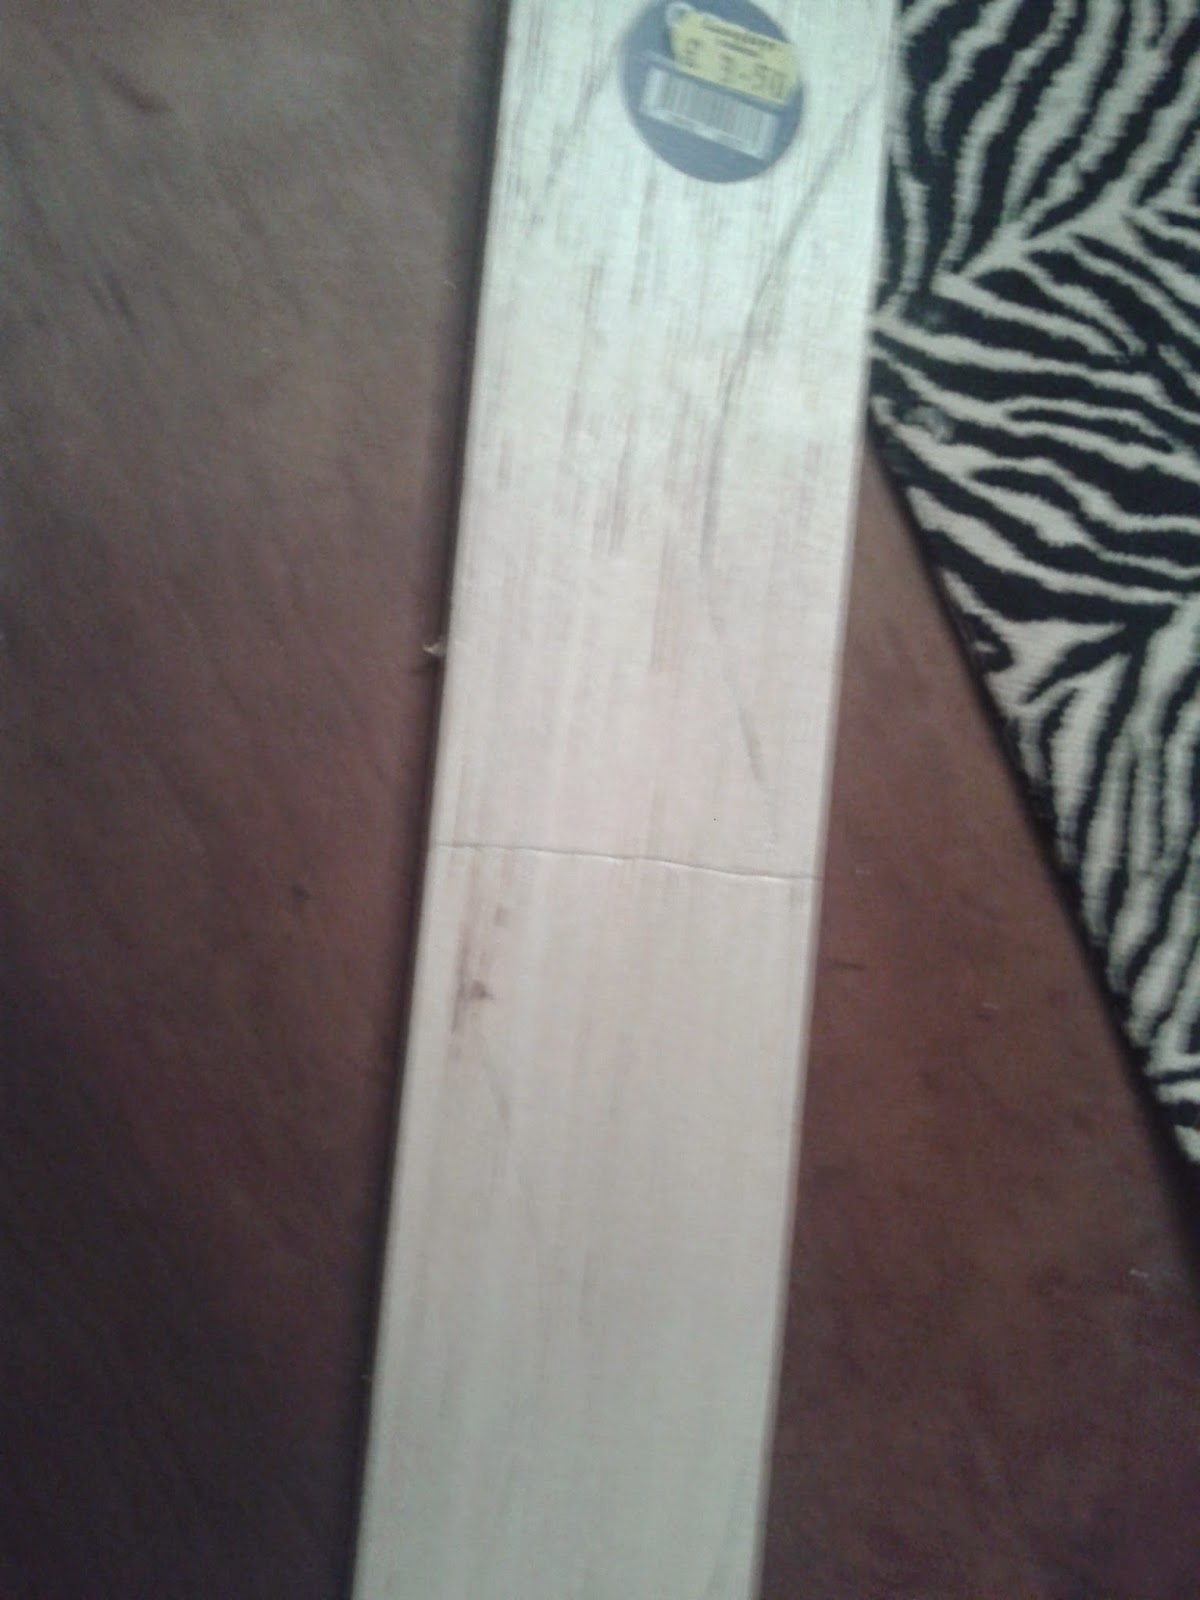
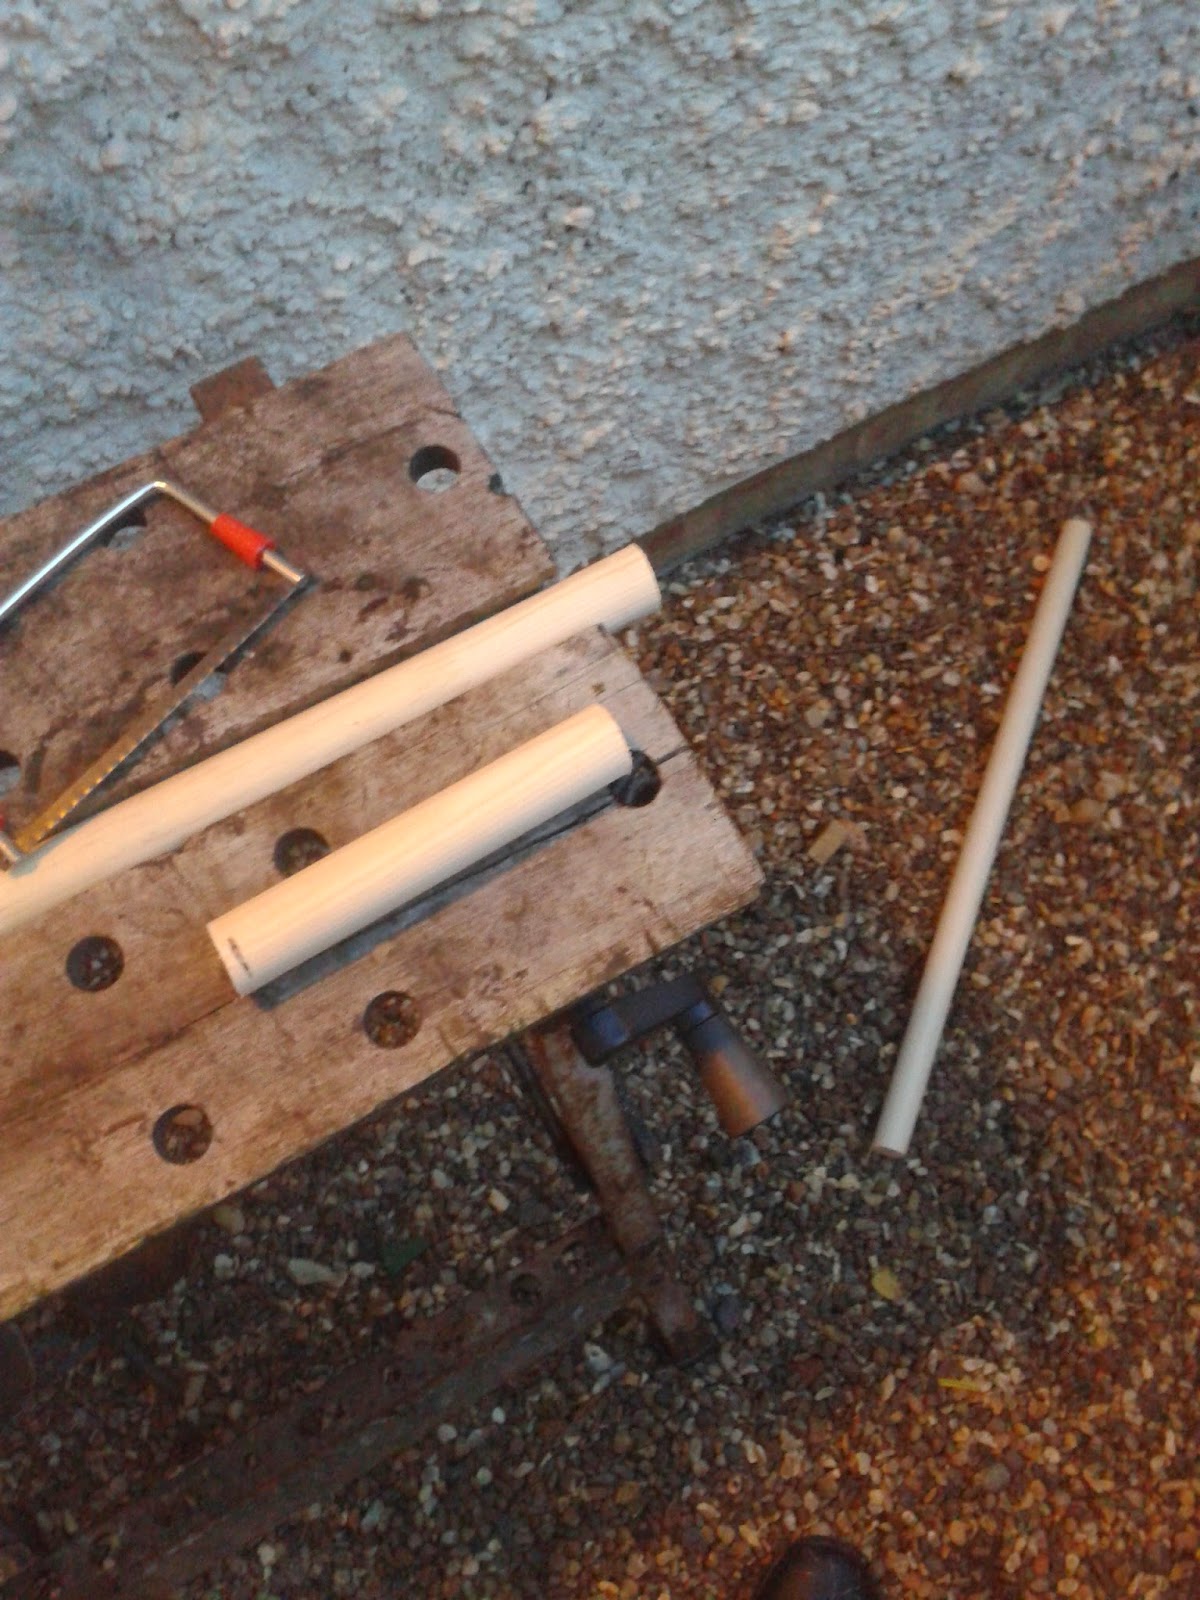
Today was the day we filmed the scene of Ali's death, as it is the scene we need prepared beforehand, as the clip will be played on the phone when Ali's body is discovered. I bought a large dowel pole from homebase to fashion the spike from as it is long and made of softwood I can easily shape. I cut the pole with a hacksaw so it was roughly my chin height (I am much taller than Dan, but it will be buried in the ground anyway, so it needs to be taller than him). I then cut a separate piece about 12cm long from the excess. I cut an indent into the spike for Dan to bite on, as he will be needing to bite into it to make it look like it's going through his jaw. I then used a stanley knife to fashion the other end into a spike, whittling it down to the centre point. Once I had the rough shape, I used files and sandpaper to make it smoother, and into a more refined point. I then filed down any rough edges to make sure Dan was not uncomfortable with the spike in his mouth. I coated the sections that would go in his mouth with rubber sheets to keep it hygienic and prevent splinters.

We then met with Adam and set off to the location we had decided Ali would be killed with all the equipment and materials needed, which were:

  • An iPhone
  • The spike and pole
  • Two head torches
  • One video light
  • Tripod
  • Fake blood (safe for the mouth)
We arrived at the scene and we did a few dry runs of the scenes, to make sure they were familiar and that I got the performance I was after. I buried the pole in the ground and Dan stood on a raised bank of ground to make the height more inconspicuous and this makes the audience believe he has been impaled and is hanging from the pole. We had to change how we were going to film it because of practicality. Initially, Adam was going to place the camera down by a tree but we realised that the angle was poor and we weren't guaranteed to get a good shot. Instead, Adam placed the camera into my hands and I held it, which gave me control of the shot. 

Once we sorted out placement, I started setting up the lights, the video light was placed to the right of the camera so it wasn't in shot but still illuminated the scene as if the light was coming from the phone. We then experimented with head torch placement, as Joe and I were behind the camera. We tried having no head torches, but we couldn't see the killer at the beginning and it didn't seem like natural light was coming from the phone. In the end, we found that one torch on my head following adam's movement before he puts the phone down and then remaining stationary worked best.  


Then we applied the blood to Dan. I started putting blood on the top of the pole, applying blood where it needed to trickle down the wood. Once I was satisfied with the amount of blood, I began applying blood to Dan's mouth area, making it look like he had been bleeding considerably for a while.

The scene took about four takes to get perfect, but we got the shot within 20 minutes of showing up, which was great time in my opinion. I was extremely happy with the footage we've got, and it is exactly what I had in my head and it looks realistic, which is exactly what I wanted.

Tuesday 27 January 2015

Day 2: Justin's death

Today was the shooting of Trevor's death which consists of two scenes:

  1. Seeing Justin believe he had escaped, yet seeing the killer and realising he hasn't.
  2. Justin waking up from becoming unconscious and in some way, being killed.
Justin, Adam and I got together at 2 O'clock to film the scene which happens in the early hours of the morning to take advantage of the sunlight, we moved to the agreed location and shot two alternative endings. The first being a backup scene in which Trevor is dragged out of shot by the killer, ending the film with the certainty that he will die, but without seeing it. The second was the agreed death sequence, in which a camera is placed into his open chest and blood pours over the lens to end the film. I chose to film a backup scene as I was worried the chest may not look realistic or the blood may not work how I wanted it to. Sure enough, both of those issues did arise. Because of the light and the construction of the cavity, it did not look realistic, and the mechanism to spurt blood was way too slow, and you could clearly see it was a vessel designed for such a purpose. 

The backup scene was an ending that was suggested during my pitch on some of the feedback slips I had the group fill in. this was the most suggested death scene and that is why I chose it as the backup scene, in case the gory alternative didn't work. I am now quite happy that the footage didn't work out, as I find the scene to be more disturbing and the acting from Justin adds to the fear in a way that he couldn't with the other scene.

We then waited for the sun to go down to film the scene happening at night. We waited for the sky to get dark, but still having some light in the sky to suggest that time had passed. We filmed the scene, which took less than ten minutes and disbanded.

Joe was not able to make this shoot, so I was the only director. Whilst I was comfortable with this as I had directed some of the scenes, I was slightly nervous about directing on my own with professional actors so before the shoot, Justin gave me some general advice for directing people (as he directs for theatre) which helped me get comfortable in the role and I believe that I was able to get a great performance out of the two actors and they were extremely happy with how the shoot was handled. 


Tuesday 6 January 2015

Lighting tests

Yesterday, I went into the woods with Joe Keeley as it got dark to test out filming methods and lighting techniques. We tested a portable light used for lighting up areas in photography studios, a torch and a phone light with the same camera, and we found the video light to be the most effective. We also tried at dusk and at night. The plan was to turn the brightness and exposure down and film at dusk but there are certain issues I have with this. Dusk only happens very briefly in winter so this would limit our filming opportunity. Also, the light doesn't look right when the exposure was brought down, it is nowhere near bright enough to convince the audience it was shot at night.

As the comparison shows, the contrast between light and dark is huge when filming at night, but not as much at dusk. Another issue is that the sky still looks bright, so it does not look completely like night time.

These tests mean I will be using these video lights on a tripod or handheld, depending on the context (whether they or stationary or moving) and I will film at night. I also have headlamps the actors will wear for additional lighting of the cast.

Music: The Composition

During my casting phase of production, Alan Jones approached me asking if I needed any composition for the piece. The film is only going to have one piece of music, it will be a piano piece played by the killer from a portable audio device. I cannot play piano, nor do I know how to program it, but I believe that piano is effective in horror when played in diminished and minor keys. I asked him if he would be up for translating a piece that I had written on guitar to piano and also asked him if, within the context of the music, there should be any other instruments involved, and even if the classical feel of piano is right and what he thought the preferable genre would be, as he has composed for horror films before. He responded with this:

I had never thought of the killer's appreciation for music in this sense before, but he is completely right. The scariest part of the psyche of a serial killer is that they are intelligent, rather than barbaric creatures and are therefore supposedly driven by human, intellect based motives.

I sent him the demo, but he did not respond, so I created my own on garageband. I had never used the software so I was a little slow to begin with, but once I realised that the interface was similar to Cubase, a software I do use, I was able to pick up enough to write the music. I had the riffs on guitar already planned, so it was just a case of inserting notes and making sure they were timed properly. The piano samples were mostly keyboard, synth based instruments, so they didn't fit the classical sound, the only one that did was the grand piano, hence my use of it.

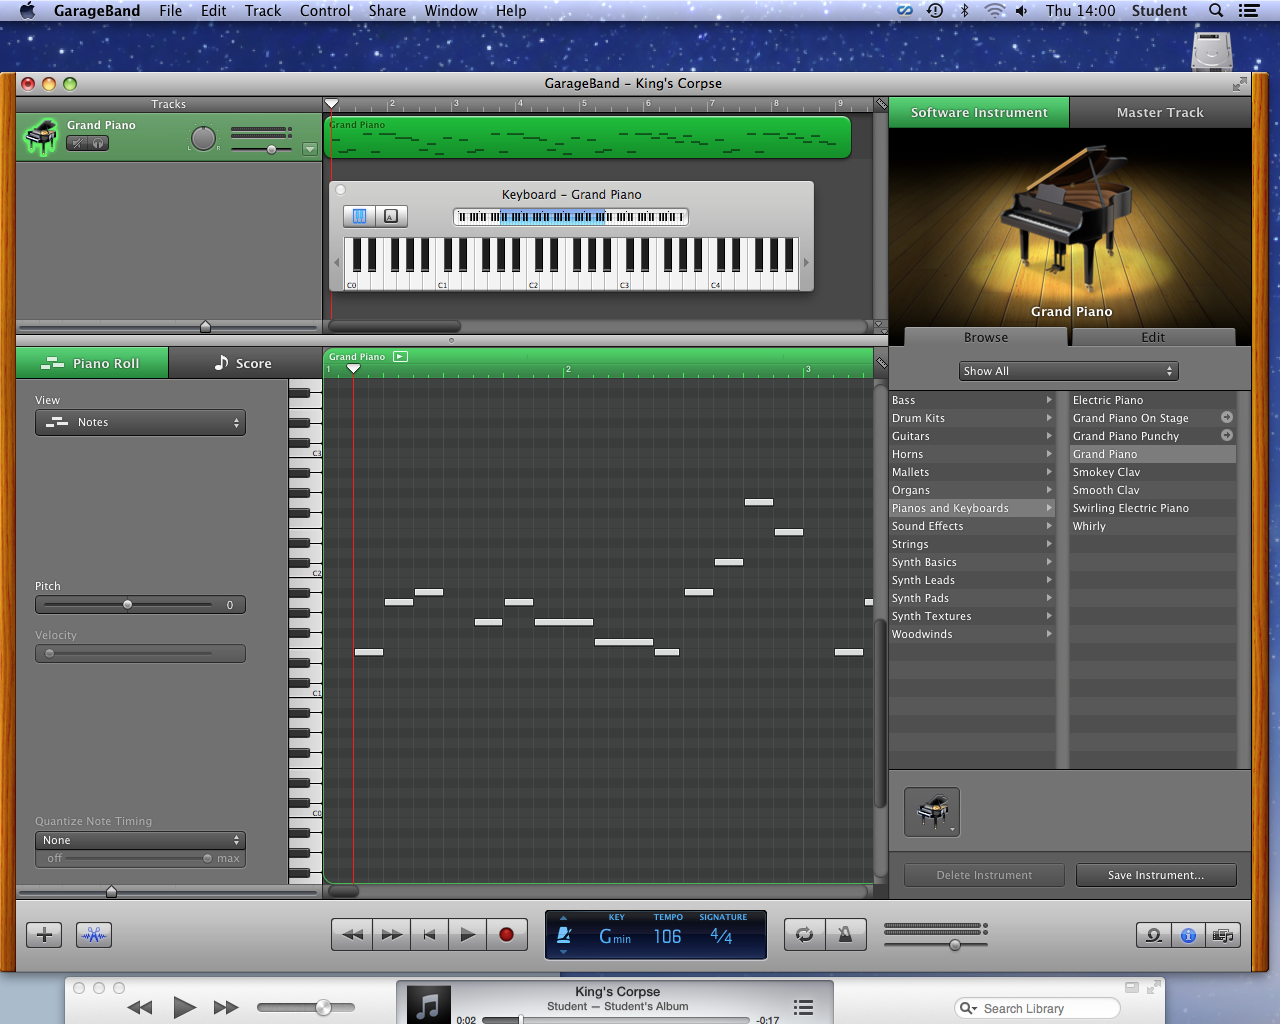
First off, I started to tab out the main melody, note for note, choosing their duration as according to how I play them on guitar. I had a couple of issues grasping the notes, as the original composition is played in the tuning Drop C, which alters where each note on the string is. I initially tabbed the first note as an F, because in Standard tuning, that is how it would be played. I noticed this during playback and all notes are now correct. 


I kept adding notes where they were played on the demo. I noticed that the notes do not fit any mode (scale within a key) I am aware of, but that contributes to my advantage, as this adds a dissonant sound (talked about earlier in the post). The closest I came to was G Phrygian, a minor mode. I was never focused on it fitting a specific mode, as I personally believe they restrict the piece, and the music I have composed that does not follow modes sound exactly how I wanted them, and I don't think anything else should matter.


Once the melody was complete, I added the A chord, which is the first note played on the demo, but I didn't add it as I wanted to experiment with the placement of the chord. In this picture, the chord is highlighted. I thought about adding other notes that fit the chord, but the idea of the piece is that it's rather isolated, to match the killer. The chords seemed not only too full for this, but they also distracted the audiences attention from the sinister melody.
The sample had a bit too much of the actual noise of the keys being hit for my liking, so I tried a technique which works a lot of the time to make guitars sound more full and give a bit more clarity. The technique involves recording several takes and panning them in different locations, making the guitar sound fuller and because there are multiple takes, some background noise that would be audible in one take, is not present. I copied and pasted the entire piece into a new, identical piano track. I panned one mostly left, and one mostly right, and turned the volume down on both tracks.


Here is the final piece:


Wednesday 26 November 2014

Casting: Adam and Andy

We received multiple local applications for the killer, The ones that stood out were Adam and Andy. Adam is in his twenties which was ideal as we need pictures of the killer before he became feral, so someone young would be great for the shots we need of him in the 80's. The problem with Adam was that he'd not been in any previous productions, whereas Andy, a man in his forties had been, so I assumed he was going to be better, but I sent over a script of what I wanted them to say and asked them to record audio. Adam embraced the mindset of the character and sounded angry whilst pronouncing the words very well. Andy's accent was good, but he didn't seem angry and the content requires it. 


This is the text that I sent them both, along with the part of the wife to establish the scene. The Murderer: Ok, snakke (phonetically: Okay, snok-yeah.)okay speakWife: (Through tears.) I don't know what you want me to say.The Murderer: Jeg vil ha en tilståelse (phonetically: Yaig vi-eye-en tay-stol-sah)I wan't a confessionWife: I told you before, I don't -(He slaps her. She yelps.)The Murderer: Prøv å tilstå, min kjærlighet (phonetically Proov-or-tilstor, min shaliet.)try to confess, my loveThe wife shivers a stutters for a while, trying to think up a fake confession. Wife: Just let me go. I won't tell anyone about any of this if you- (He slaps her.)The Murderer: Ingenting å si ? (phonetically: ing-eng-ting or see?)Nothing to say?Wife: (whispering.) I don't.. I can't... I'm sorryThere is a loud bang as of him hitting her fatally and her chair falling to the floor. There is then just static until the sound of footsteps grow closer to the recorder and it is picked up and turned off.
I have spoken to him further about the role and will be meeting with him on thursday to further brief and assess him to see if he is right for the role.

This is the response that Adam sent me: https://www.dropbox.com/s/p24oxpk3fqxe3qe/Starnow.mp3?dl=0